Driver Training
- Create Password
- Accept Business Link Request
- Download and Login
- Starting a Day
- Starting Rest
- Starting Work
- Edit/Delete Events
- Compliance View
- End of Day
- Logout
- Device Minimums
- Helpful Tips
Create Password
Email Notification

- When you first start you will get 2 emails
- Select the Welcome email first

- In the email it will have details about who has added you to Logmaster
- To Accept, click the Accept Button
T&C’s, Privacy and EULA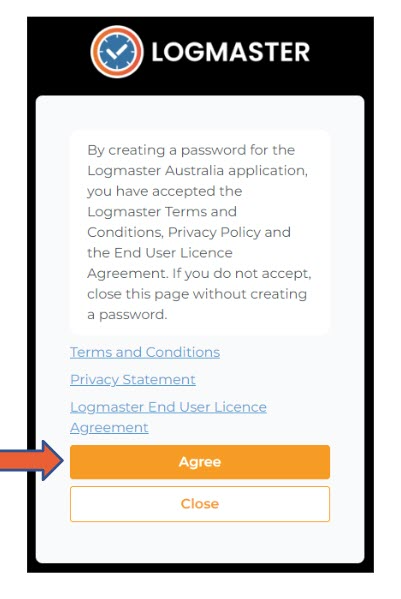

- You will be taken to a confirmation page in which you can review the Terms and Conditions, Privacy Statement and Logmaster End User License Agreement
- To accept, click Agree
Create Password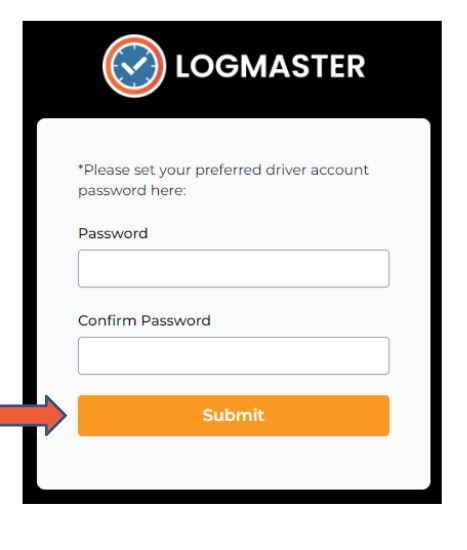

- Now you can create a password
- It is suggested to make it something your will remember
- Must have 1 capital, 1 lowercase and 1 number as a minimum
- Once you have created the password, click submit
Accept Business Link Request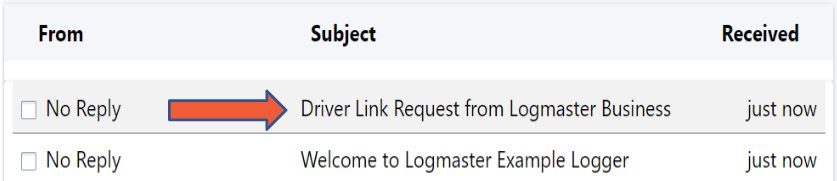

- When you first start you will get 2 emails
- Select the Driver Link Request email
Email Notification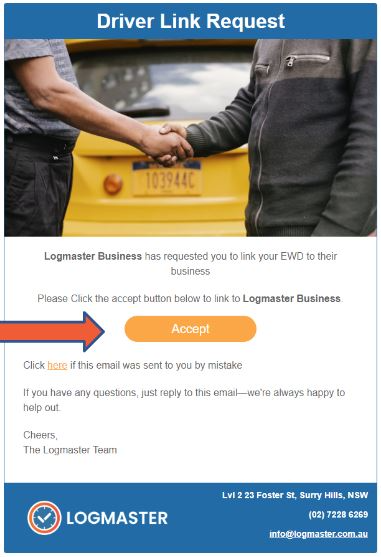

- When a business wants to link you Logmaster EWD to their portal, they will send a link request
- To accept the link request, click the Accept button
Link Details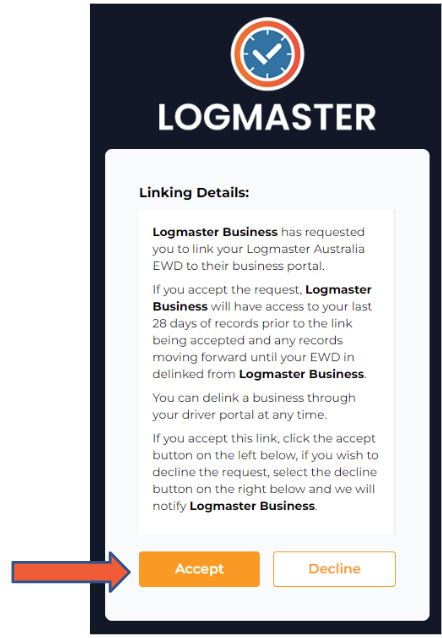

- You will be presented on a web page the link details
- If you would accept, click the accept button and you will be linked
If you decide to decline, click the decline button
Download and Login
Download Logmaster Australia

- o download the Logmaster Australia
- For Android, Google Play Store and search Logmaster Australia
- For Apple, App Store and Search Logmaster Australia
- Once you have the application, download it to your device
Login

- Open the Logmaster Australia application on your phone
- Use your email address and password to login and click Login
- If you have forgotten your password, click the forgot password button below the login button and follow the prompts
- If you get a notice that appears on top, refer to device minimums
Permissions
- The Logmaster application has requirements for device permissions
- You will be required to accept all permissions requested to use Logmaster Australia
Starting a Day
Select Work

- Starting a day is a flow that has a few extra steps then a normal work select
- Click the Work button at the bottom of the screen of the dashboard
Reminder Notice
- This notice will appear when you are creating work and rest events
- Please read it carefully before proceeding
- Press Acknowledge to proceed
- If you wish, you can silence this notice for 7 days

Selecting a Business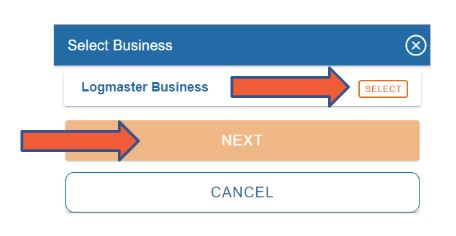

- First set of the day is selecting the business you are diving for, do this by selecting the ‘Select’ button next to the business name
- If the business is not listed, select the orange plus in the bottom right and follow the prompts
- Make sure you notify that business of the change from WWD to EWD
- Once you have selected a business, select the next button
Confirming Details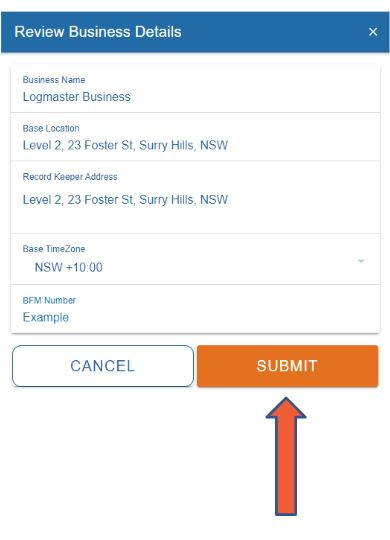

- This step will allow you to confirm and change any of the business details, except the business name
- Once you have confirmed the details, click submit
- Note: for the states that do daylight savings, you can change the time zone for the base location here
Fitness Declaration
- If your business is doing fitness declarations within the mobile application, it will appear here in the flow
- Please fill form if required
Fatigue Plan Select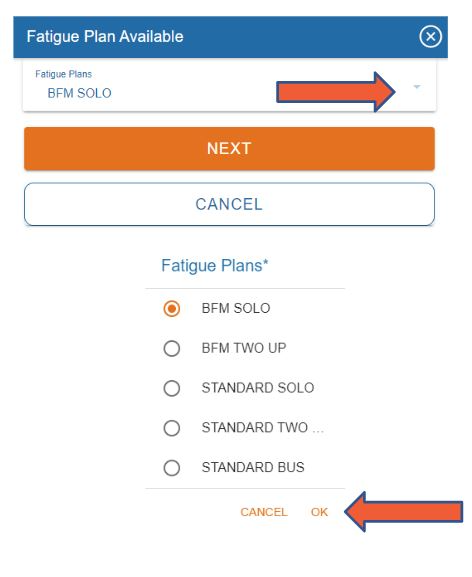

- To Select a fatigue plan that isn’t displayed by default, click the down arrow
- You will be presented with Fatigue plans to select from, click ok once you have selected the fatigue plan you wish to use
- 2-up will display a secondary form
- Click the next button to confirm your selection
2-Up Form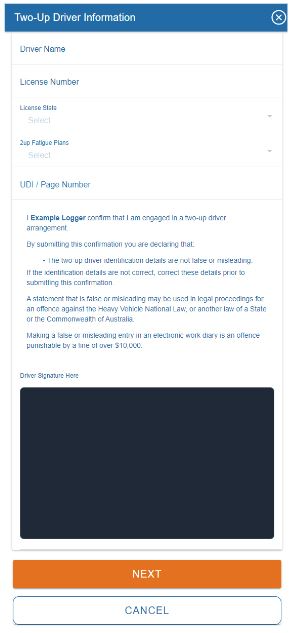

- If you are driving in 2-up
- Fill in the details required by the form
- Read the notice carefully before signing the declaration
- Once complete, click next
Select Vehicle

- You will be presented with a list of company vehicles that are available to select
- If the vehicle you need isn’t shown in the list, select the orange + symbol in the bottom right to add the vehicle
- To select the vehicle, click the select button and click next
Vehicle Checklist
- If the business you have selected is using the Vehicle Pre Start Checklist it will appear here in the flow
- Fill the form out as required
Select Location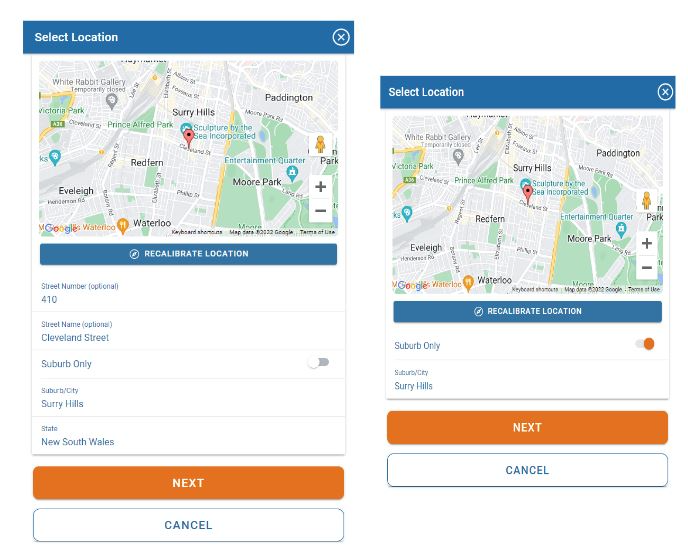

- The EWD will generate the most accurate location if can based off your device capabilities
- If the location isn’t exact, you can correct the location
- Depending on your device, some devices take longer to generate a location then others
- If you wish to do Suburb Only, click the toggle and the application will remember your selection
Event Details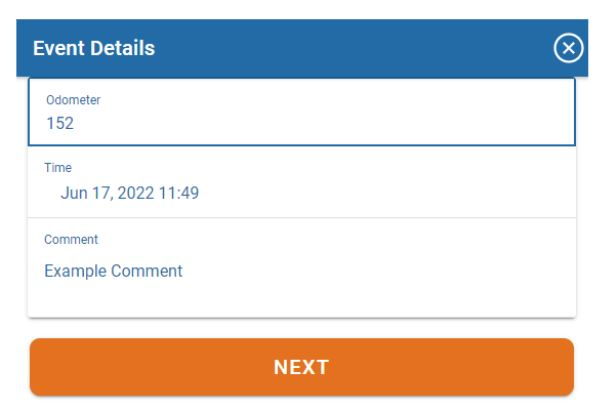

- Fill out the Odometer reading for the vehicle your are driving
- You can edit the time of the event here if you need too
- Add any comments you require and click next
- This will submit the event
Dashboard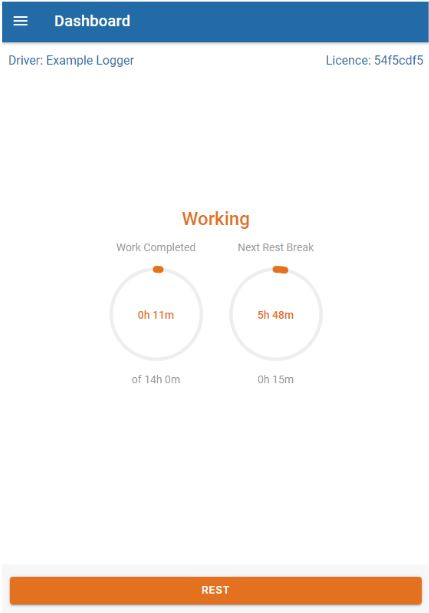

- You will be returned to the dashboard
- The left hand dial will show you the total work you have completed for the current day
- The right hand dial will show you how long until your next rest, with the rest required below
Starting Rest
Dashboard

- To start a rest event, select the ‘Rest’ button at the bottom of the dashboard
Select Location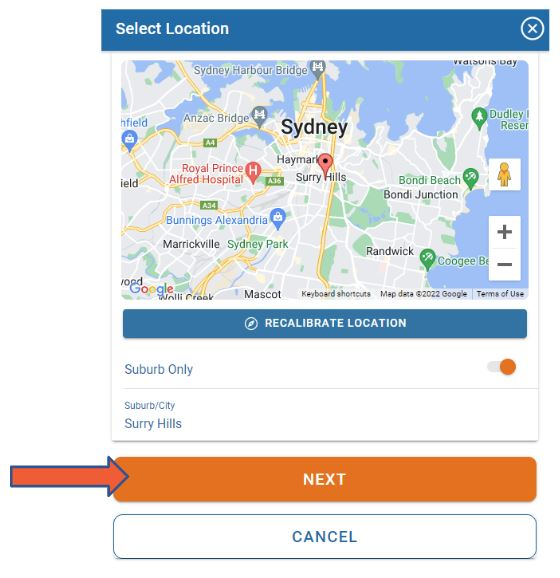

- Confirm your Location
- Select next to confirm location
Event Details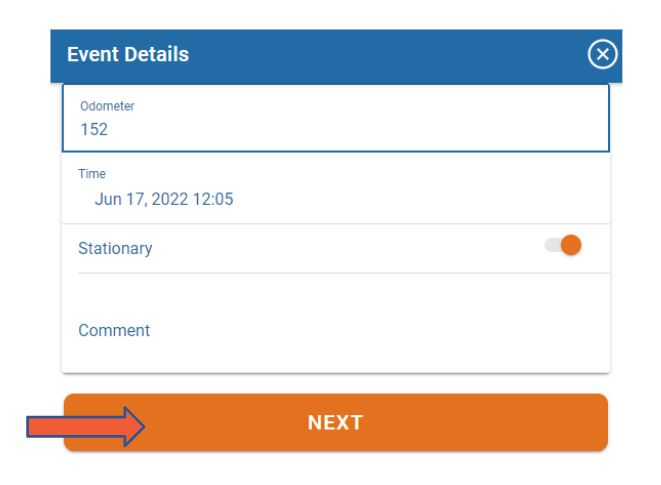

- Confirm your event details
- Odometer
- Time
- Stationary status
- Comments
- Select Next to submit the event
Dashboard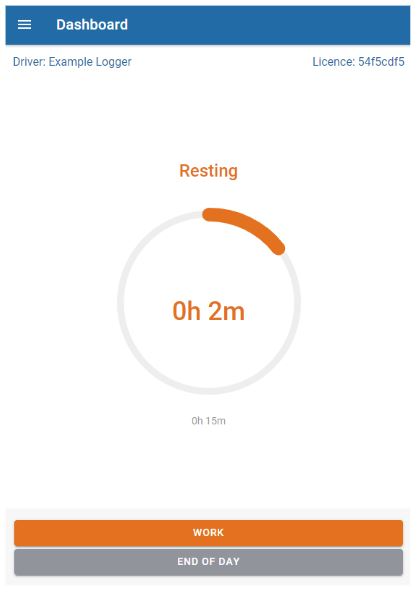

- In rest mode, the dashboard will change to show you how long you are in rest for
Starting Work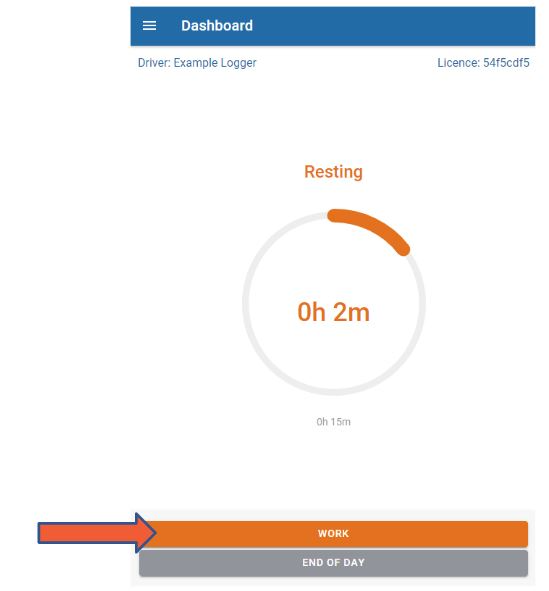

- To start work, select the work button at the bottom of the screen
Confirm Vehicle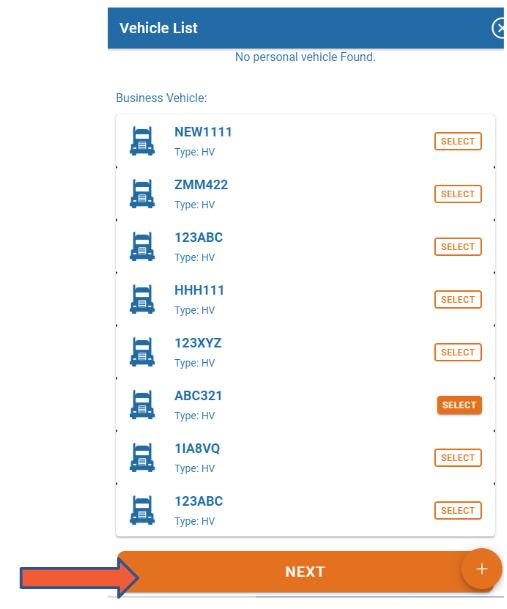

- At this stage you will need to select the vehicle you are about to drive
- By default, the last vehicle you drove will be selected
- Click Next to proceed
- Note: if you select a different vehicle and your business has enabled pre starts, you will need to completed a pre start checklist
Select Location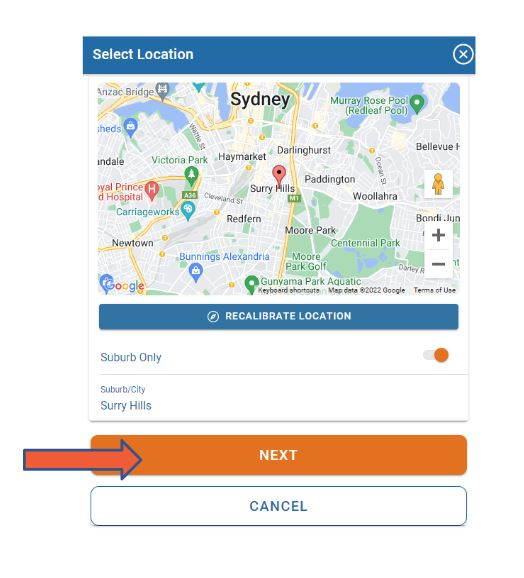

- Confirm your location
- Click next

- Confirm your event details
- Odometer
- Time
- Comments
- Select Next to submit the event
- You will be returned to the dashboard
Menu Navigation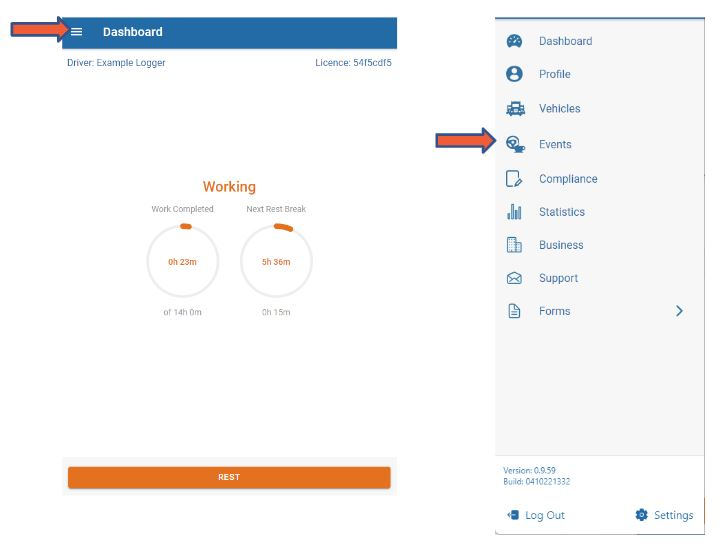

- To access your events, click the Menu icon
- Then from the Menu Select Events
Events Page

- Select the edit button on the event you wish to edit
Edit Event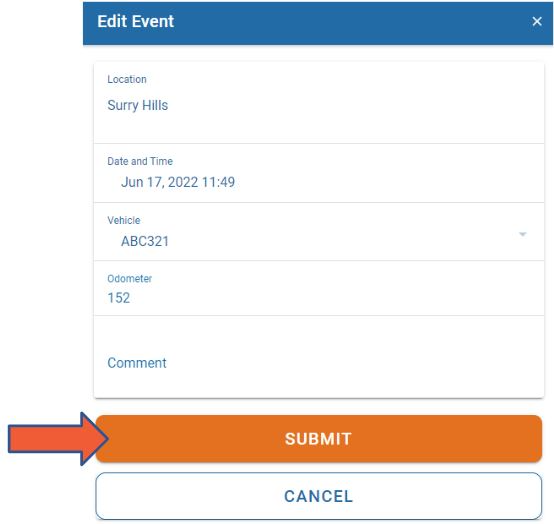

- The data that can be edited in an event will be presented
- Once you have edited the information, you will be required to put in a comment
- If you wish to submit the edits, click the submit button. Otherwise cancel.
Edit History

- All Edits will have a change log that can be viewed on the events page and in the compliance page
Delete Event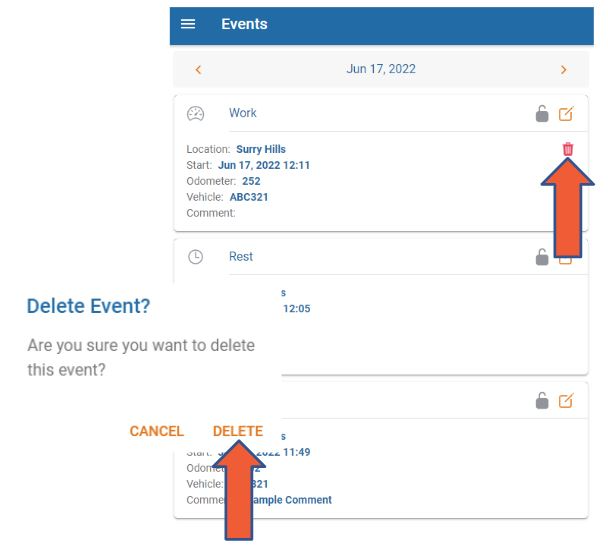

- To delete an event, click the trash can
- You will receive a popup on the screen to confirm
- Note: The event will not be deleted form the system, it will only be marked as deleted, as no data is to be destroyed
Compliance View
Menu Navigation

- To access the compliance view, click the Menu icon
- Then from the Menu Select Compliance
- If you are on the roadside and need to present your diary, it will be required to be in compliance view
- The compliance view requires your password to exit, so your data is safe
Compliance Help

- The compliance help will be displayed for the Authorised officer
- They will be required to read how to use the diary before they proceed
- At the bottom of the page is the Acknowledge button to access compliance
Graphical View

- The Graph will show the diary graphical view
- To change days, use the date toggle at the top

- The Events Tab will show events
- The top grid will show the active events
- The bottom grid will show deleted events
- If you click the event, it will show all details, including the edit logs
Investigation

- The investigation tab will show all breaches detected in the diary for the past 28days
Annotations

- The Annotations screen will show all annotations in the diary for the past 28days
- This is for Authorised officers only
Report Transfer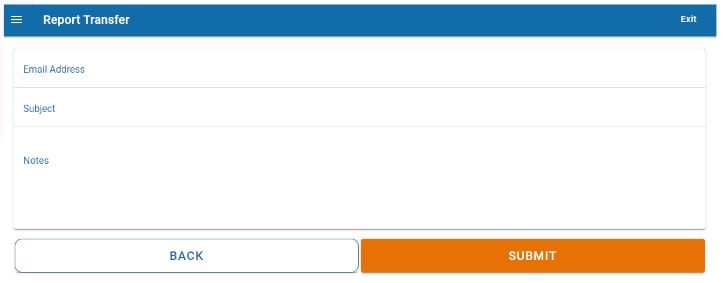

- The report transfer will trigger a report for the past 28days for the current active driver to the email that has been entered
Officer Help

- If the Authorised Officer requires to review the help sections again, they can be accessed via the officer Help menu item.

- The about tab will have your details
- The EWD approval details
- The device details
Exit Compliance

- To exit the compliance view, you will be required to input your password
End of Day

- To lock you events, you can click the end of day button at the bottom of the rest screen.
- You can only lock you events if you are in rest mode.

- The list of events that will be locked are at the top of the screen
- Please review the legal statement
- Sign the form in the box provided
- Tick Accept Button
- Then finally input your password and click submit
- Once your records are locked, they cannot be edited or deleted.
Logout

- To logout, simply click the logout button
- If your events are all locked, you will be logged out directly
- If your events are not locked, you will be prompted to complete an end of day before logging out
- If you are in work mode, you will get a prompt to change to rest mode before logging out
Device Minimums
- Android
- Version 7 or above
- 1GB Ram
- 1Ghz CPU
- 250mb disk space available
- Apple
- Version 12.5.5 or above
- 1GB Ram
- 1Ghz CPU
- 250mb disk space available
Notes: If you are unsure, download the app and if it lets you login, your device meets the minimums
If your device is Rooted/Jailbroken you will not be able to use the Logmaster Australia Application
Helpful Tips
Tampered Events
- There are 3 types of tampered event detections
- GPS turned off
- To clear this notice, turn your location services on
- The application requires you location for geotagging of events
- GPS Mock Location
- Turn off Developer Mode and uninstall all mock location applications from the device
- Android only
- Time
- Make sure your time is set to network time and the time zone is set to automatic
- The application will base all your events based on your base time zone by default
Settings
- Themes
- There are multiple themes within the application and you can edit them in the settings button
- Default Settings
- Any system defaults for reminder notifications, suburb only and more can be managed from the default settings tab
Support
- In the menu item support, you can find your support contact details
- Click these options to open your phone dialler or email to access support
Web Access
- You can access your profile from the web as well
- Here you can manage personal vehicles, linked businesses, documents, reports and more
- Head to Logmaster.com.au and lick the login button to access your portal
