In this article, you will learn how to manage linked business drivers. These drivers are organized under the Linked tab. The sections below will walk you through key features under the linked business drivers:
View Linked Business Drivers
In this section, you will learn how to access linked drivers and view their profiles.
- In the Business Navigation Menu, click Drivers and select Drivers List.
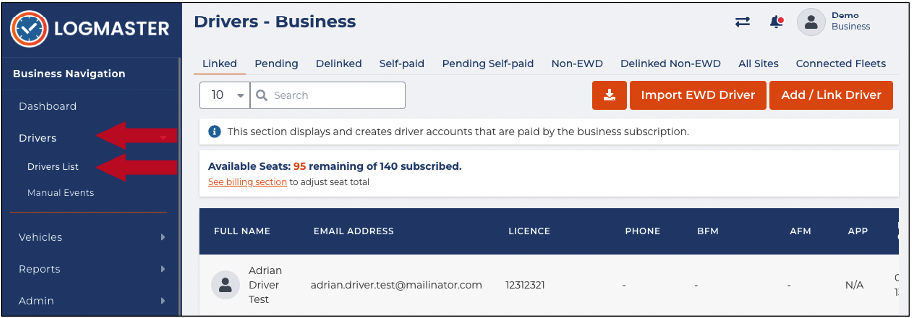
- You will be directed to the Drivers - Business page. When accessing the Drivers List, the Linked tab is active by default.
- To view existing drivers, you can search/filter the list using the Search field. You can also set the list display to 10, 20, or 50 using the drop-down arrow beside the Search field.
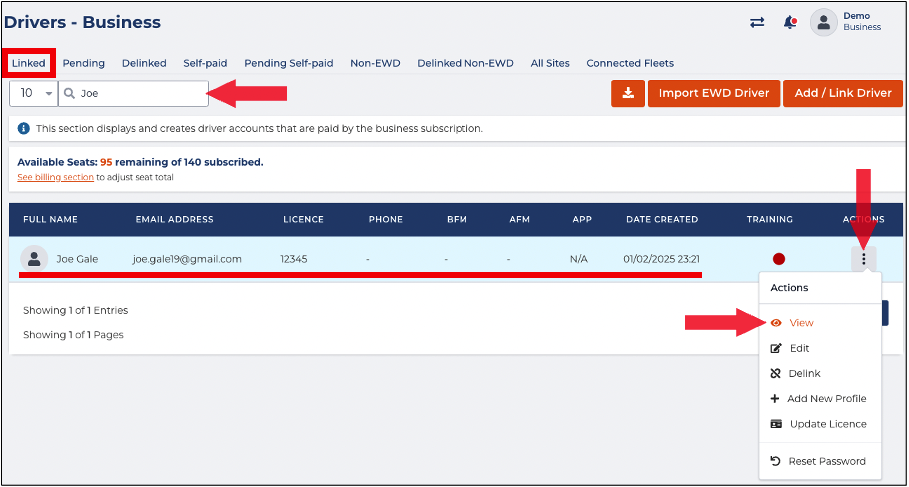
- Find the driver from the list and click its Action icon. The Actions menu will expand, and select View.
- The Driver Info window will appear displaying the Driver's Business Profile. In this window, you can update, delink, or delete the selected driver.


Add New Profile
In this section, you will learn how to create business profiles for selected drivers.
- In the Business Navigation Menu, click Drivers and select Drivers List.
- You will be directed to the Drivers - Business page. When accessing the Drivers List, the Linked tab is active by default.
- Find the driver you wish to create a new profile using the Search field. Enter the Driver name or keyword.
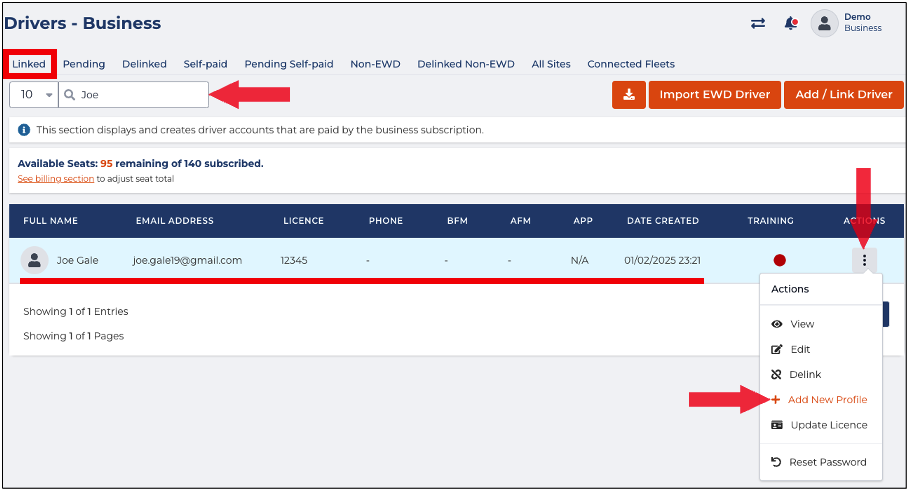
- Find the driver from the list and click its Action icon. The Actions menu will expand, and select Add New Profile.
- The Create Business Profile window will appear. Specify the following information:
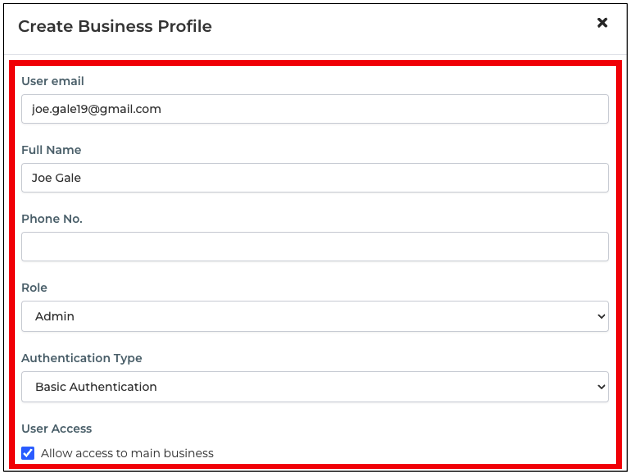
Field Instructions User email This field displays the driver's user email. This field is disabled and for viewing purposes only. Full Name Enter the driver's full name. Phone No. Enter the driver's phone number. Role Click the drop-down arrow to select a role. Authentication Type Click the drop-down arrow to select the authentication type. User Access Select the Allow access to main business checkbox to allow this driver access to the main business. - In the Business Sites section, select the checkbox(es) of the applicable business site(s) to which the driver will be assigned.
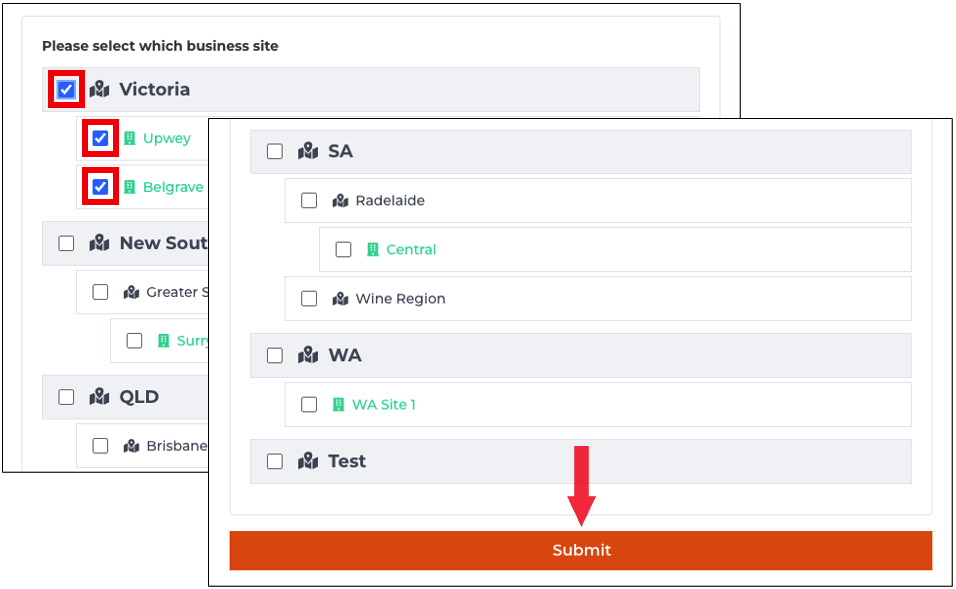
- Review the profile details and click Submit to save the changes.


Update Licence
In this section, you will learn how to update the selected driver's licence.
- In the Business Navigation Menu, click Drivers and select Drivers List.
- You will be directed to the Drivers - Business page. When accessing the Drivers List, the Linked tab is active by default.
- Find the driver you wish to update the licence using the Search field. Enter the Driver name or keyword.
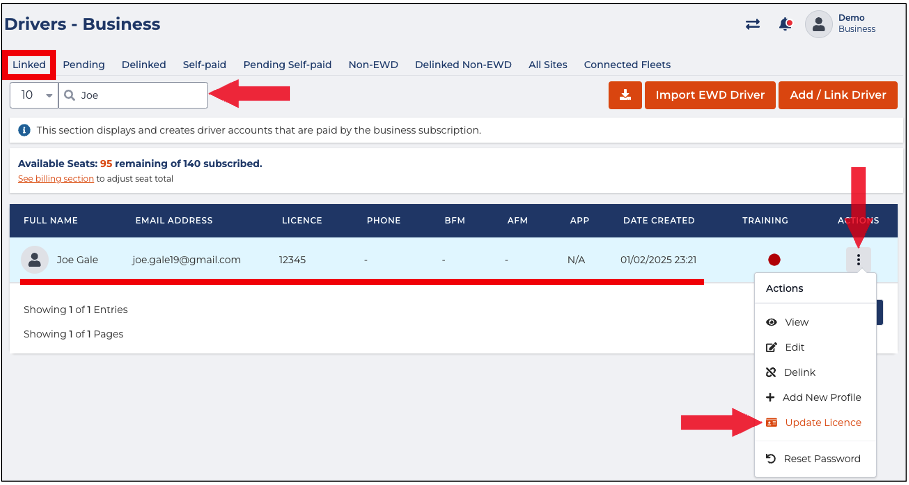
- Find the driver from the list and click its Actions icon. The Actions menu will expand and select Update Licence.
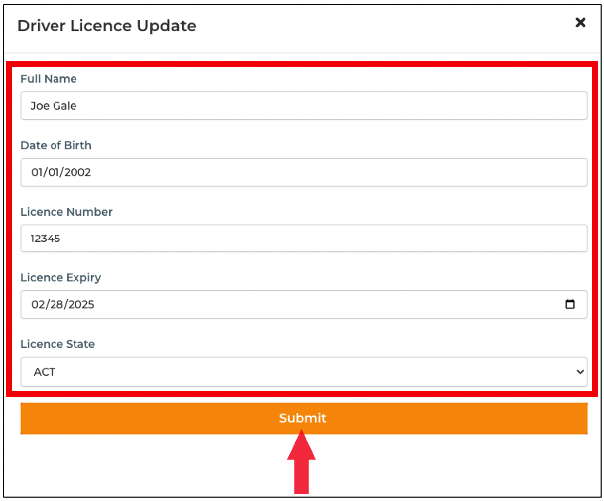
- The Driver Licence Update window will appear. Update the appropriate information:
 FieldInstructions
Full Name This field is disabled by default. You cannot edit/update this field. Date of Birth This field is disabled by default. You cannot edit/update this field. Licence Number Update the value of this field if needed. Licence Expiry Click the Calendar icon to set the updated licence expiration date. Licence State Click the drop-down arrow to select the licence state. Update this field if needed. - After updating the licence information, click Submit to apply the changes.


