In this article, you will learn how to invite and link self-paid drivers in Logmaster. The sections below will walk you through each feature under the Self-Paid tab:
- Inviting Self-Paid Drivers
- Downloading CSV Template
- Inviting Self-Paid Drivers by CSV
- Link Self-Paid Drivers
Inviting Self-Paid Drivers
This section will guide you on the entire process of sending invitations to self-paid drivers.
- In the Business Navigation Menu, click Drivers and select DriversList.
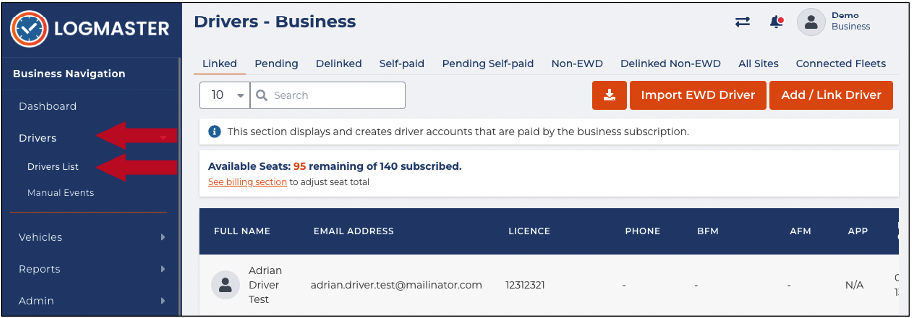
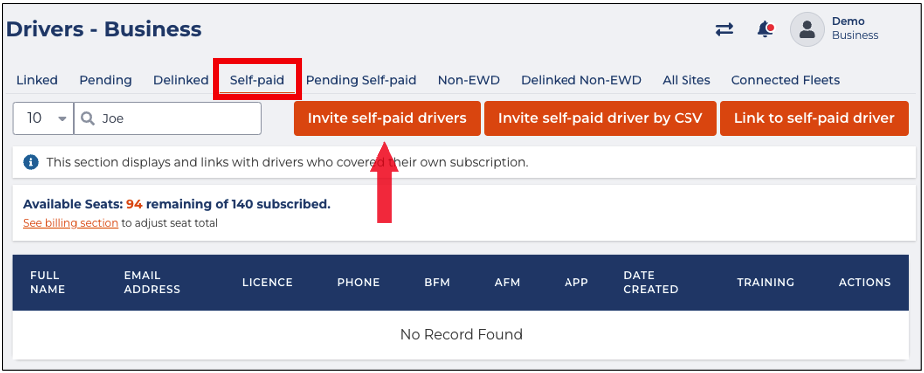
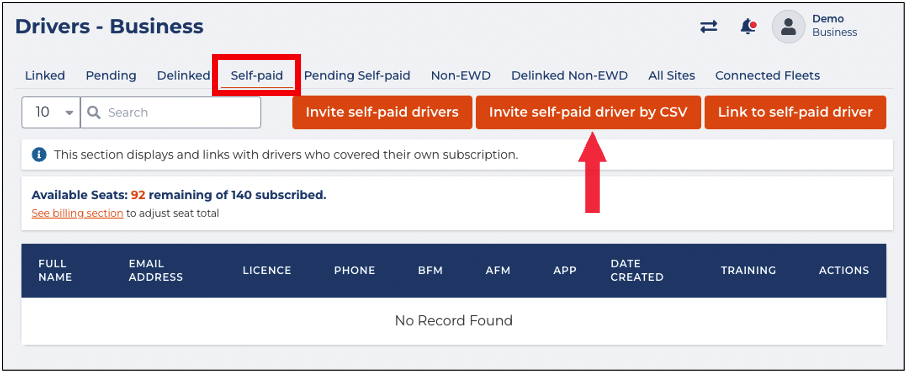
- You will be directed to the Drivers - Business page. Click the Self-Paid Drivers tab to access the list of self-paid drivers.
- Find and click the Invite self-paid drivers button.
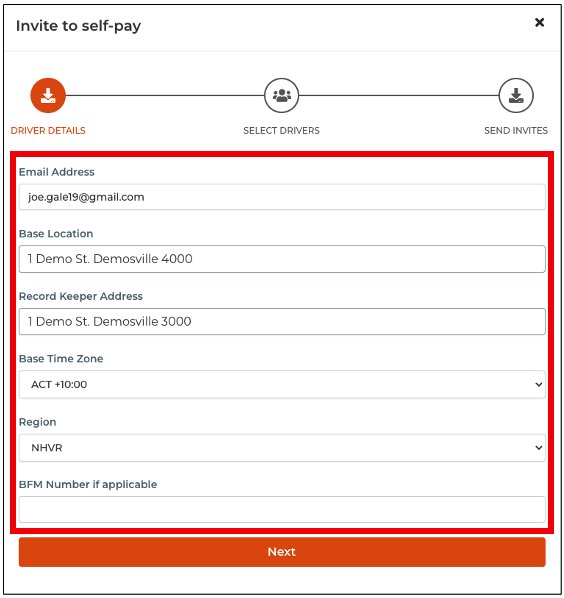
- The Invite to self-pay window will appear. In the DRIVER DETAILS section, specify the following information:
 FieldInstructions
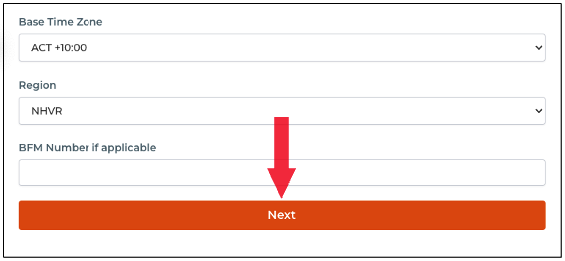
Email Address Enter the self-paid driver's email address Base Location Enter the self-paid driver's base location. Record Keeper Address Enter the record keeper's address. Base Time Zone Click the drop-down arrow to select the appropriate self-paid driver's time zone. Region Click the drop-down arrow to select the region. BFM Number if applicable Enter the self-paid driver's BFM Number (if applicable). - After specifying the driver details, click the Next button to continue.
- You will be directed to the SELECT DRIVERS section. In this section, a table with a list of drivers will appear. Find the self-paid driver you want to invite and select the Checkbox beside the driver's name.
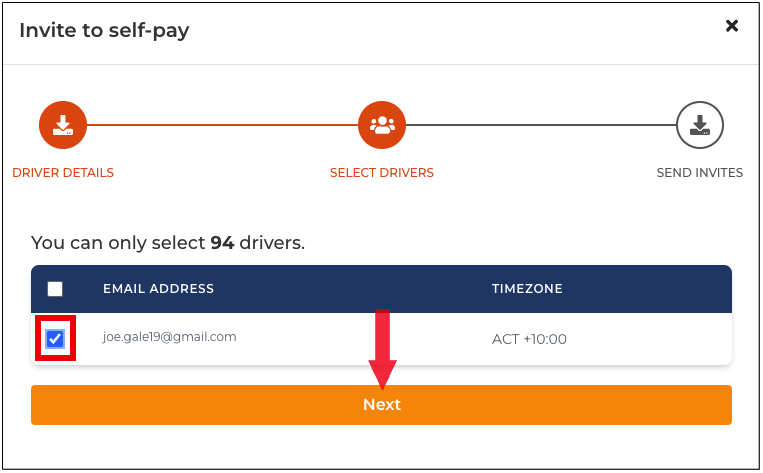
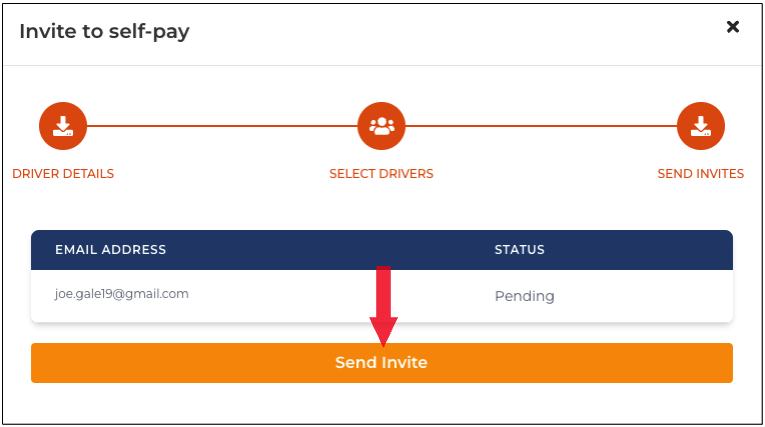
- Click the Next button to continue. You will be directed to the SEND INVITES section. Check the selected driver's email and status from the table and click the Send Invite button to proceed.


Downloading CSV Template
This section will guide you on how to download the CSV Template that you can use to invite multiple self-paid drivers by CSV.
- In the Business Navigation Menu, click Drivers and select Drivers List.
- You will be directed to the Drivers - Business page. Click the Self-Paid Drivers tab to access the list of self-paid drivers.
- Find and click the Invite self-paid drivers by CSV button.
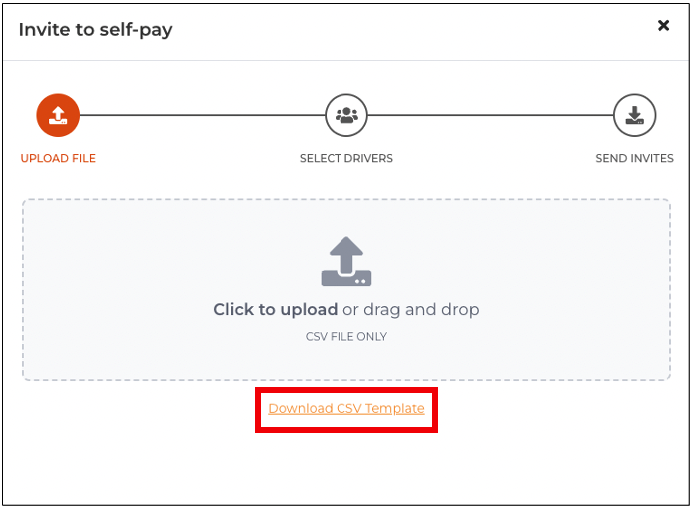
- The Invite to self-pay window will appear. Click the Download CSV Template link to download the template.
- The Import Self-Paid Drivers by CSV template will be downloaded to your device. Go to your Download folder and open the downloaded file.
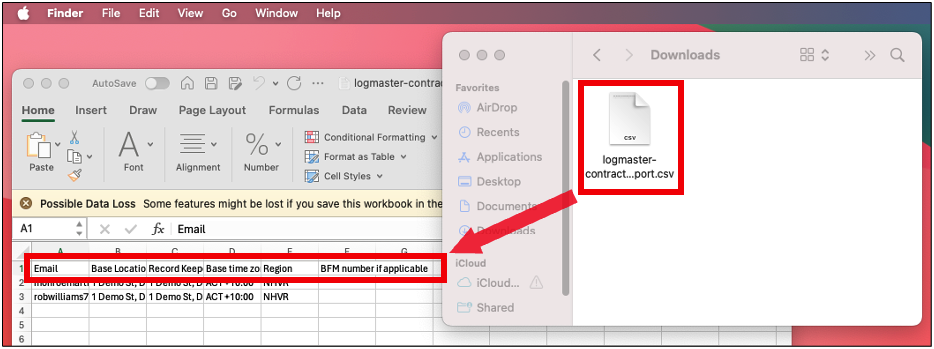
- The template will require the following information:
- Base Location
- Record Keeper Address
- Base Time Zone
- Region
- BFM Number if applicable


Inviting Self-Paid Drivers by CSV
This section will guide you on how to invite multiple/bulk self-paid drivers by CSV.
- In the Business Navigation Menu, click Drivers and select DriversList.
- You will be directed to the Drivers - Business page. Click the Self-Paid Drivers tab to access the list of self-paid drivers.
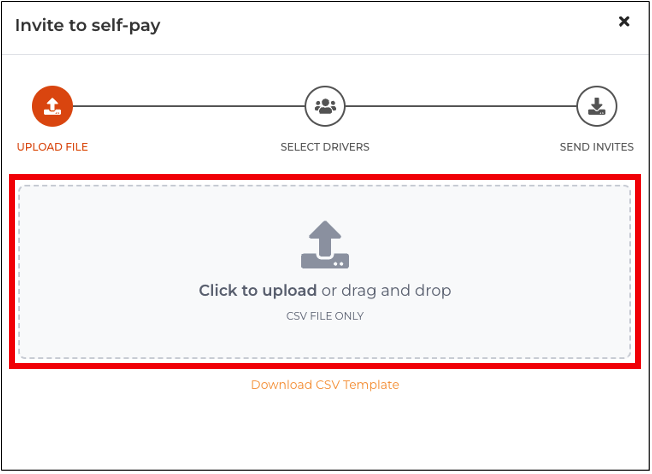
- Find and click the Invite self-paid drivers by CSV button.
- The Invite to self-pay window will appear. Click the Upload Panel to access the File Location window in the UPLOADFILE section.
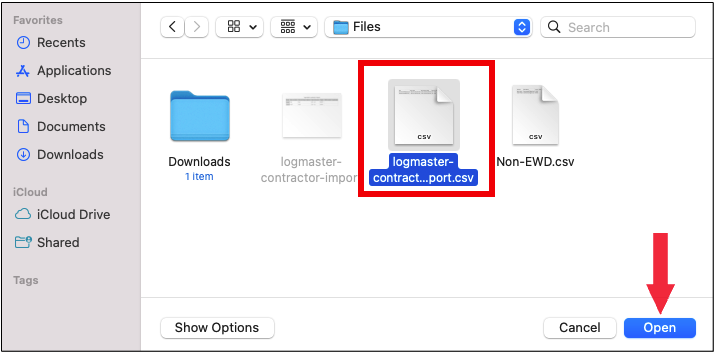
- In the File Location window, find and select the Self-Paid Drivers CSV file. Click the Open button to continue.
- You will be directed to the SELECT DRIVERS section. In this section, a table with a list of drivers will appear. Find the self-paid drivers you want to invite and select the Checkbox beside the drivers' names.
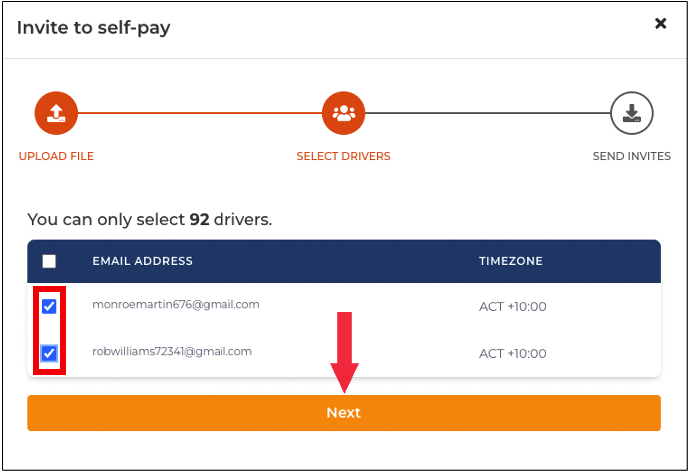
- Click the Next button to continue. You will be directed to the SEND INVITES section. Check the selected drivers' email and status from the table and click the Send Invite button to proceed.


Linking Self-Paid Drivers
This section will guide you on how to link self-paid drivers to Logmaster.
- In the Business Navigation Menu, click Drivers and select DriversList.
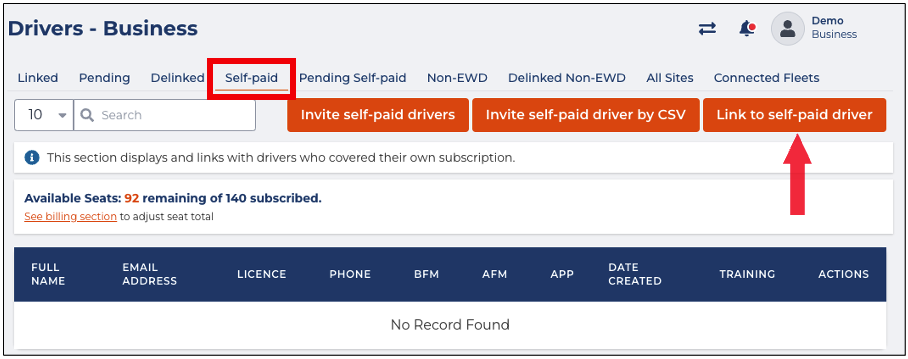
- You will be directed to the Drivers - Business page. Click the Self-Paid Drivers tab to access the list of self-paid drivers.
- Find and click the Link to self-paid drivers button.
- The Link with self-paid drivers window will appear. In the Email Address field, enter the driver's email address.
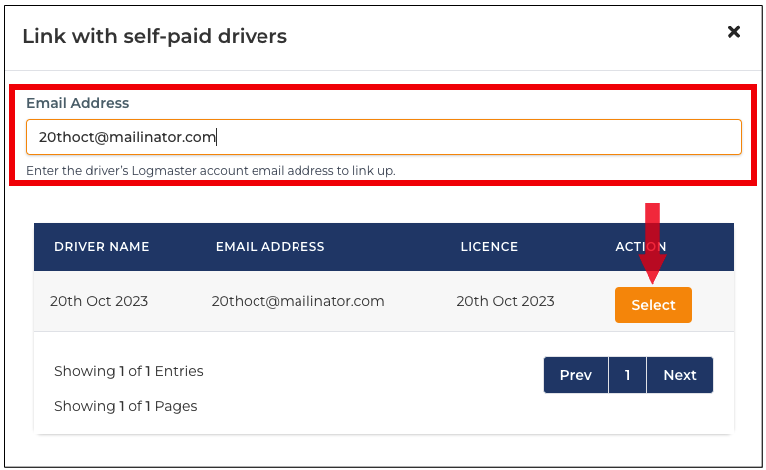
- After entering the email address, it will appear in the table below. Click the Select button.
- The Linked with self-paid drivers window will appear. In the Business Details field, specify the following:
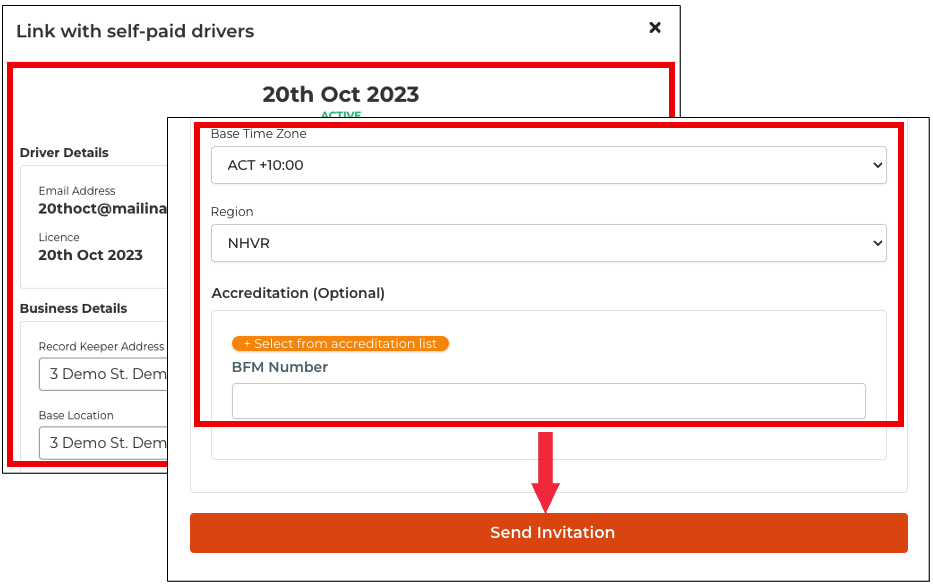
- Record Keeper Address
- Base Location
- Base Time Zone
- Region
- Accreditation (Optional)
- BFM Number
- After specifying the required information, click the Send Invitation button.


