Logmaster Implementation Guide
The Logmaster web portal has been designed to show you the state of your fleet. Data provided by our Add-in can be used to schedule your work and ensure your drivers are not breaching NHVAS rules.
Introduction
This Implementation Guide contains the information to deploy, access, and use Logmaster Add-in within the Geotab’s ecosystem. It will step you through these workflows:
- Planning and Preparation
- Setup and Deployment
Solution Overview
After successfully installing our Add-in, you will gain access to features such as driver and vehicle management, report creation and administrative functionalities.
Planning and Preparation
Assumptions and Constraints
- We are assuming that a business has already contacted a logmaster partner and has signed up for an account through the partner.
Requirements and Prerequisites
Requirements:
- Apple Devices iOS version 12.5 or higher.
- Android Devices version 7.0 or higher.
Prerequisites:
- Configuration .json file which is provided at the end of this document.
- Logmaster business account in the logmaster web portal.
Helpful Documentation
Refer to these documents for helpful user information and points of contact:
For more information regarding our product, please refer to our website:
https://logmaster.com.au/
Setup and Deployment
These are the workflows required to implement the solution.
- Setup the Service Account
- Install the Add-In
Setup the Service Account
Follow the steps below to set up the new service account.
- Log in to MyGeotab and navigate to (1) Administration > (2) Users, and click the (3) Add button.

- On the New User page, complete the following:
- User (Email) — use the following convention to enter the new user email:
logmater-service@<yourDataaseName>
For example: logmaster-service@logmaster
- Password — create a strong password and share it with Logmaster by calling: (02) 7228 6269.
- Force password change on next login — toggle to No.
- Security clearance — View Only
- Data access — select Everything.
- Click Save.

Install the Solution Add-In
Follow the steps below to install the Add-In. This workflow requires a .json file to structure the data and complete the installation. Follow the steps below to install the Add-In.
- Log in to MyGeotab and navigate to (1) Administration > (2) System > (3) System Settings, and select the (4) Add-Ins tab. Click the (5) New Add-In button.

- Paste the .json code below into the Add-In Configuration window, replacing the sample code that is already there. Click OK.

- In the System Settings page, toggle Allow unsigned Add-Ins to On and click Save at the top of the page. The Add-In is now installed!

.Json File for New Service Account
Paste the .json file below to structure your service account data in step 2 of Install the Solution Add-in.
{ "name": "Logmaster EWD2", "supportEmail": "admin@logmaster.com.au", "version": "0.0.1", "items": [ { "url": "https://logmaster-australia.web.app/businessDashboardPage.html", "path": "ActivityLink", "menuName": { "en": "Logmaster AU" }, "svgIcon": "https://logmaster-australia.web.app/images/geotab-logmaster-logo.svg", "menuId": "LogmasterRootMenu" } ], "key": "logmasterLogmaster", "isSigned": false } |
Open the Add-In
Upon a successful Add-In installation, a new side menu should appear named “Logmaster AU”.
 The Add-In menu will have the following Top menus
 The Add-In menu will have the following Top menus
- Dashboard:
An overview of your business operations within the logmaster platform, such as active drivers, registered vehicles and notifications.
- Drivers:
A list of drivers within your business, in which they are segregated into different categories such as, Linked, Delinked, Contractor, etc.

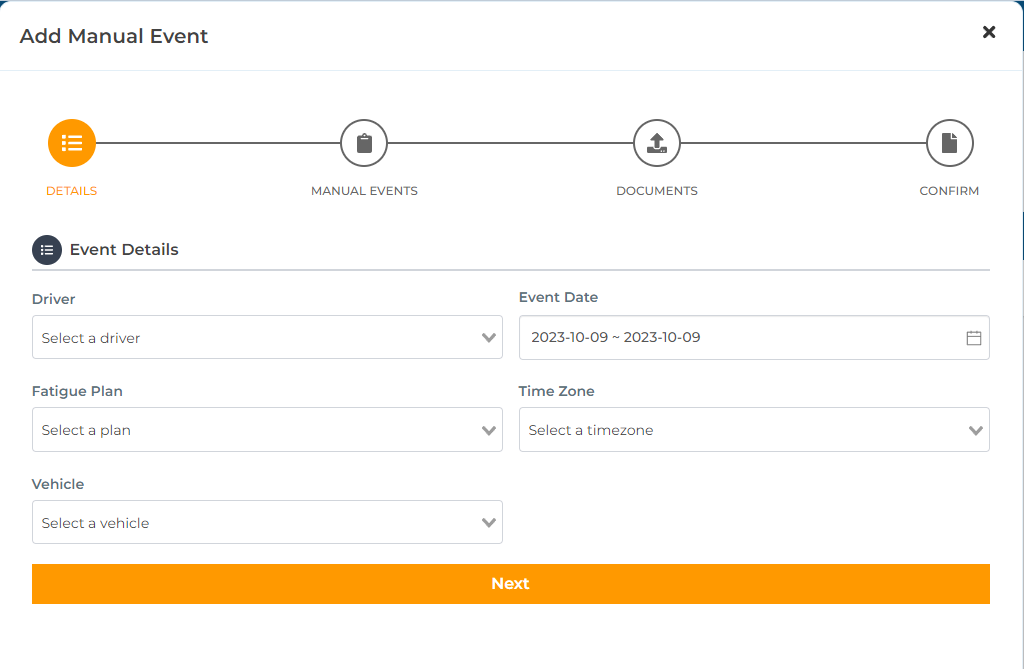
- Manual Events:
A list of manually added events on behalf of your drivers under the business.

Adding a manual event:
- Vehicles:
A list of vehicles registered within your business, in which they are segregated into different categories such as, Active, Defected, Disabled etc.

Adding a vehicle:

- Reports:
In this section, different types of reports can be generated for the business, these reports are Compliances, Breaches, Pre-start Checks, Fitness Declarations etc.
Compliance:
A compliance report can be generated after selected a driver and a specific time period.

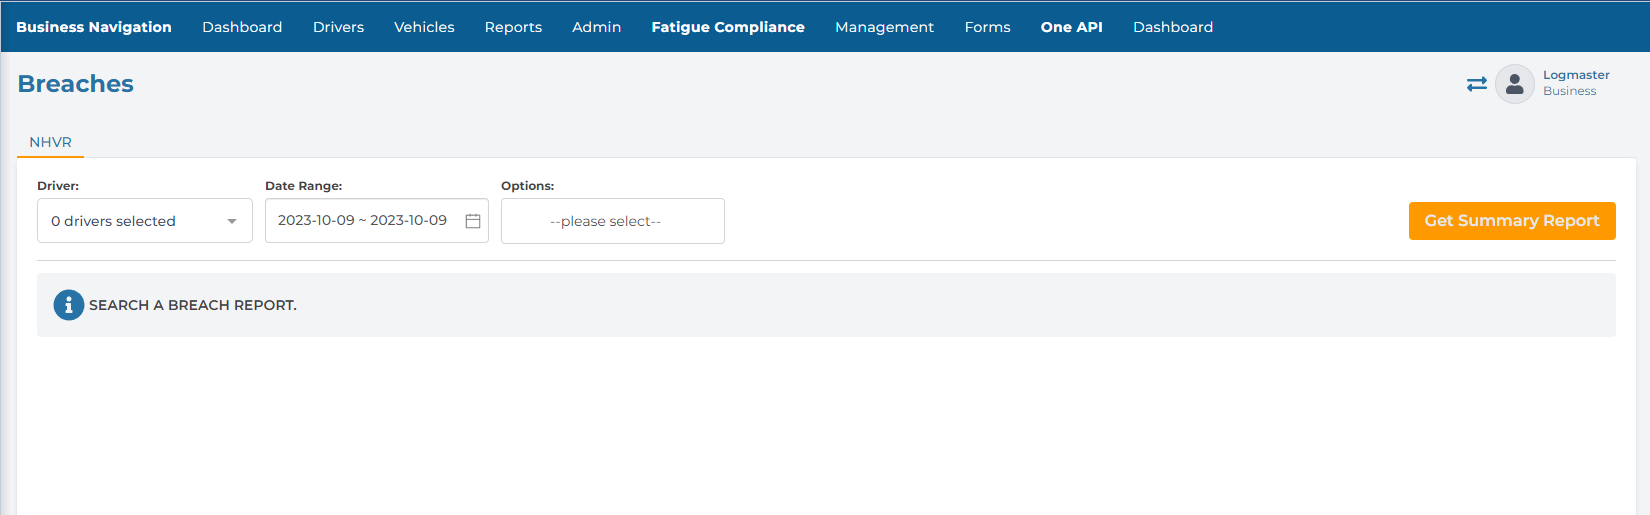
Breaches:
Breaches that took place between a specified time period as well as the selected drivers will be shown here.
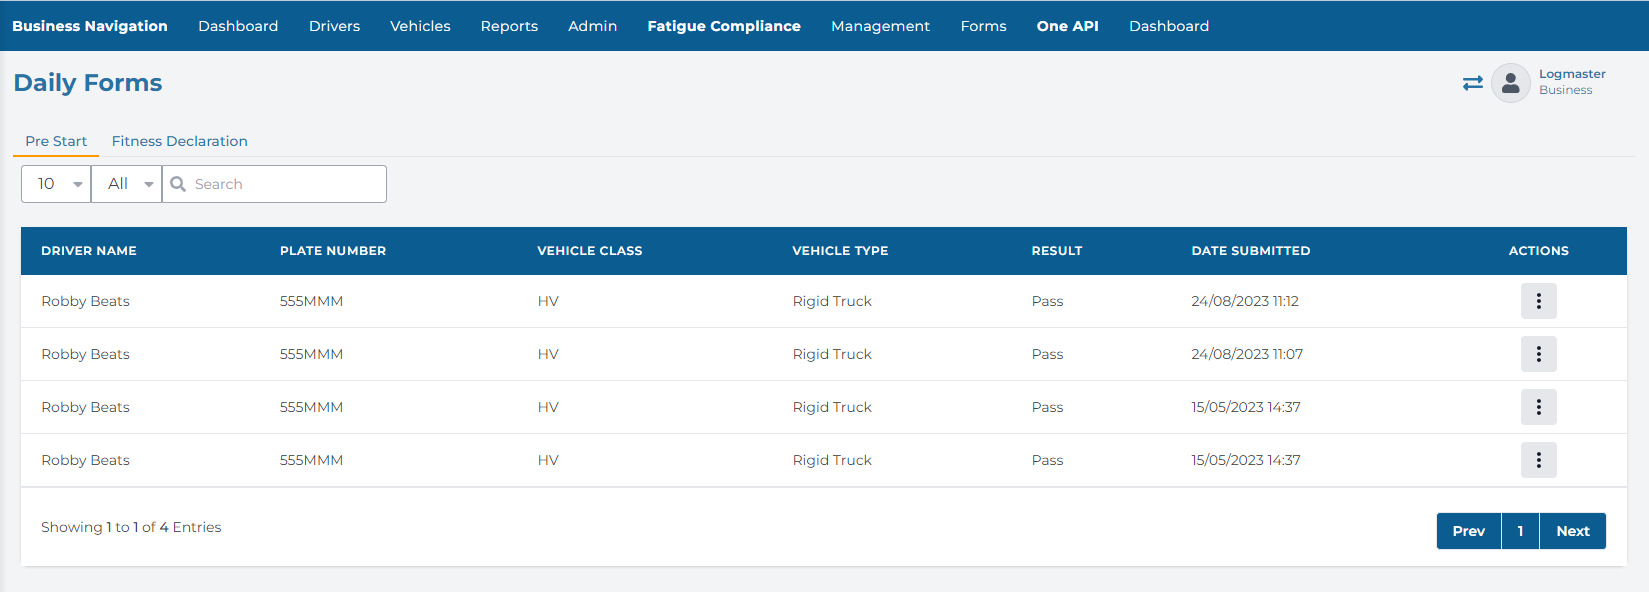
Pre start Checks:
A set of vehicle checks are performed by the driver to ensure a safe journey. The form is filled up by and driver and submitted, which then appears in this section.
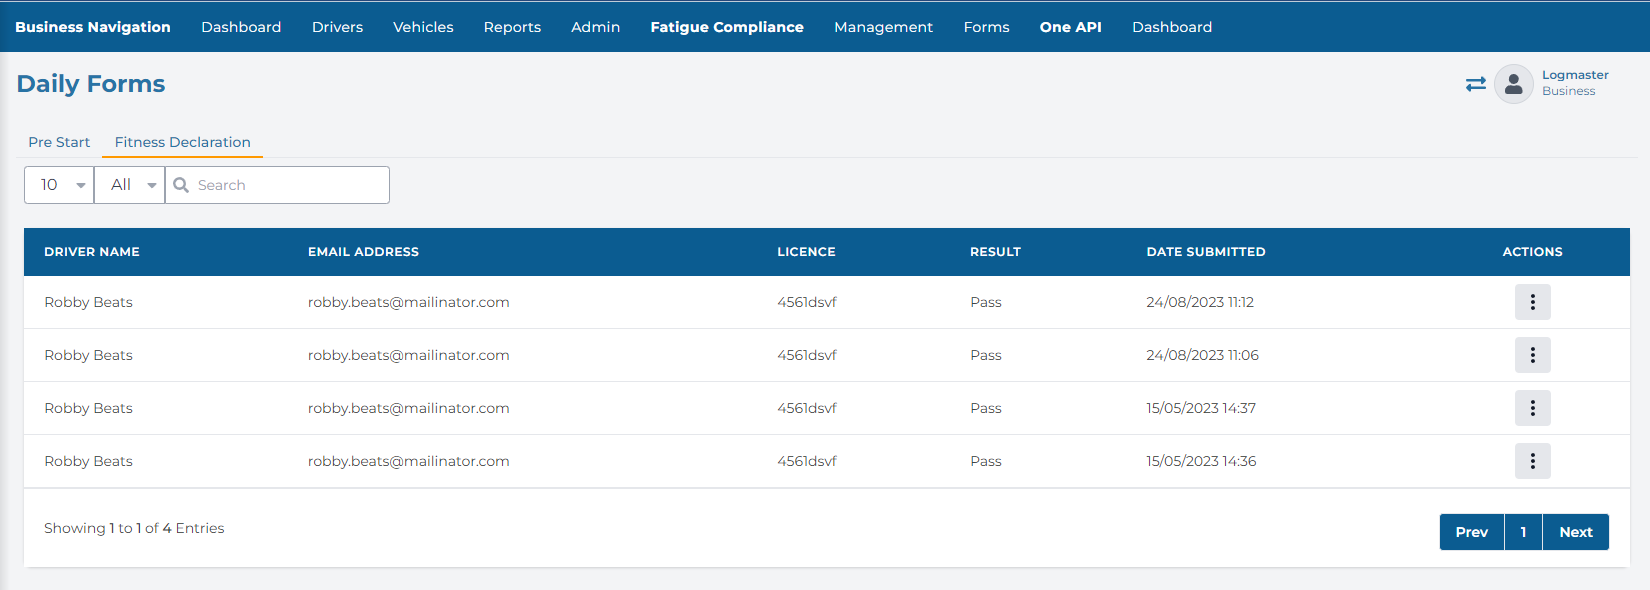
 Fitness Declarations:
Before each journey, drivers are required to fill up a fitness declaration form to ensure the driver is fit enough to drive. These forms will be shown in this section.
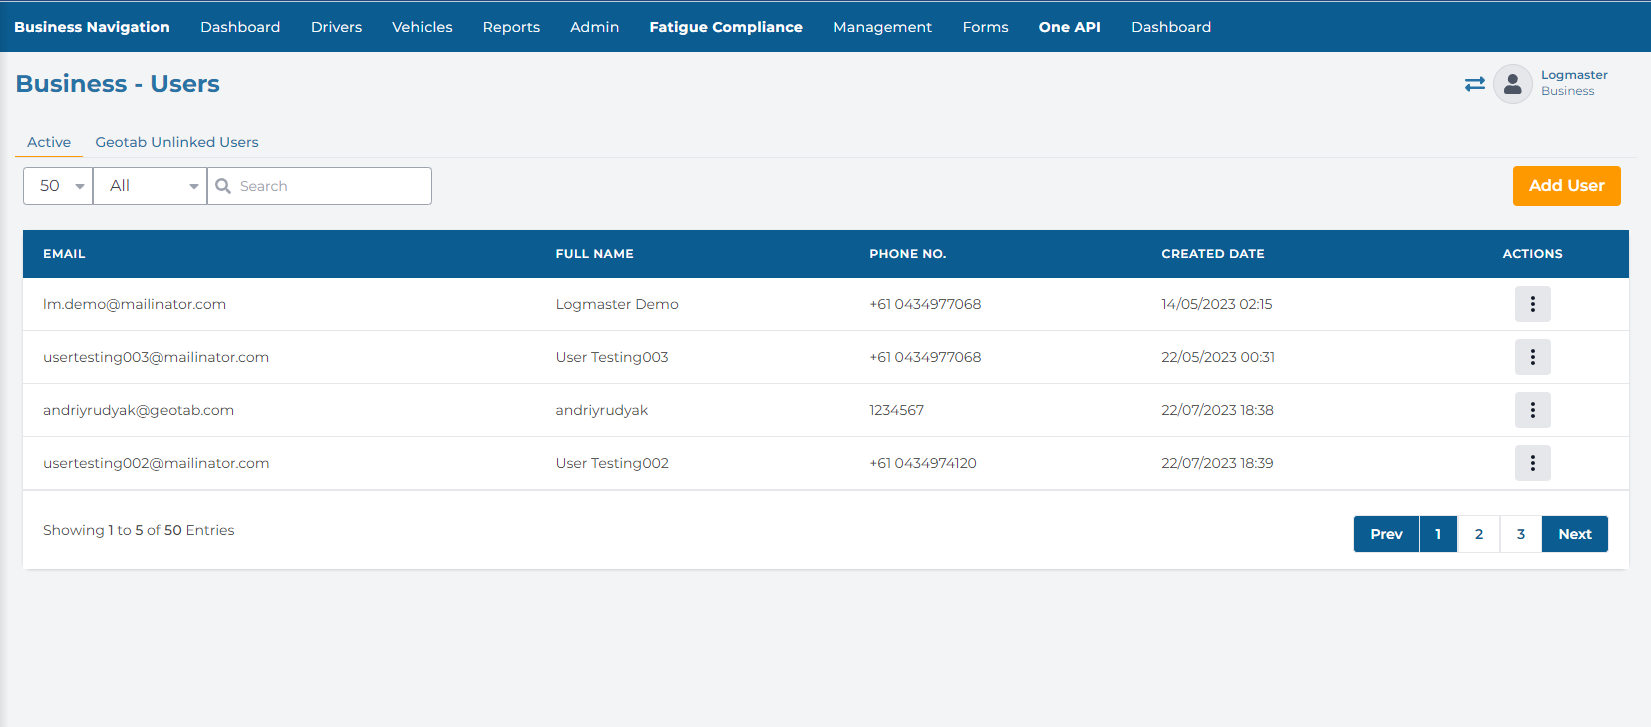
- Admin:
All administrative related functionality can be found in this section, users, roles and responsibilities list can be configured and viewed here.
User List:
Specifies the list of users that have access to the business accounts.
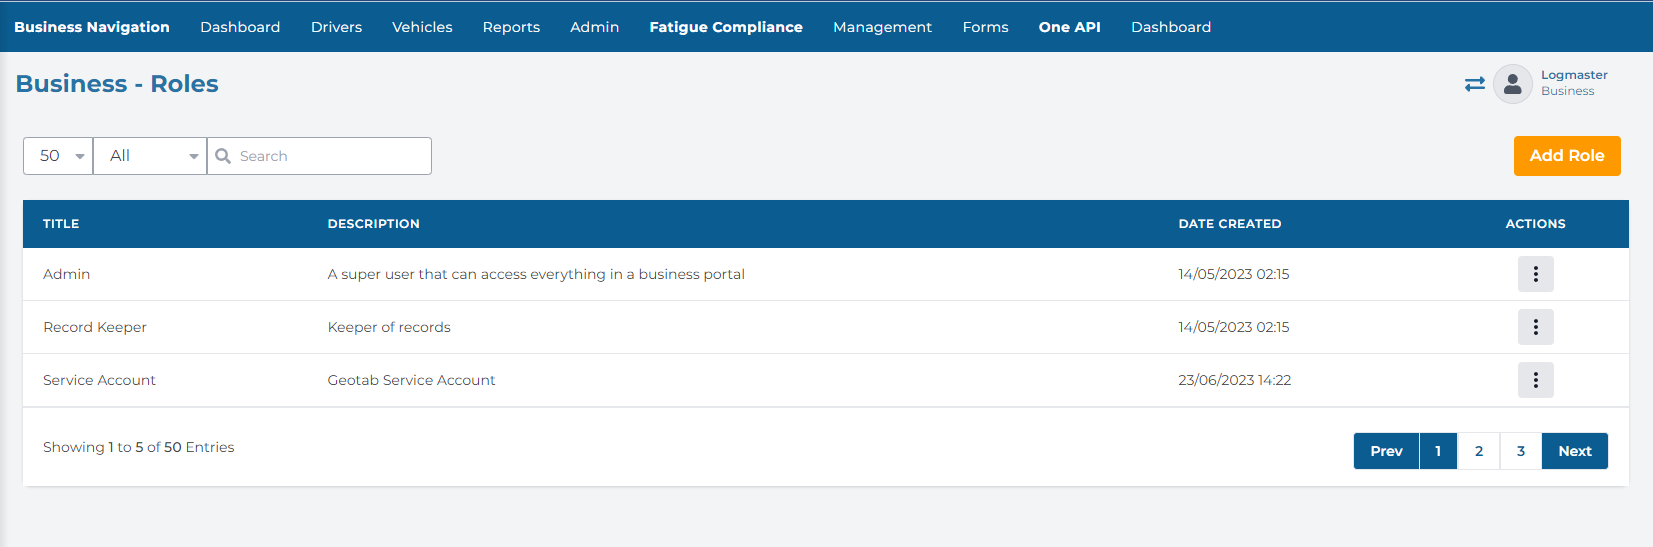
 Role List:
Each user can be assigned a role, these roles are custom made by the business, and further configurations can be made to ensure each user has the correct access level.
Depot Configuration:
A section in which a business is able to set up a depot/site to manage.

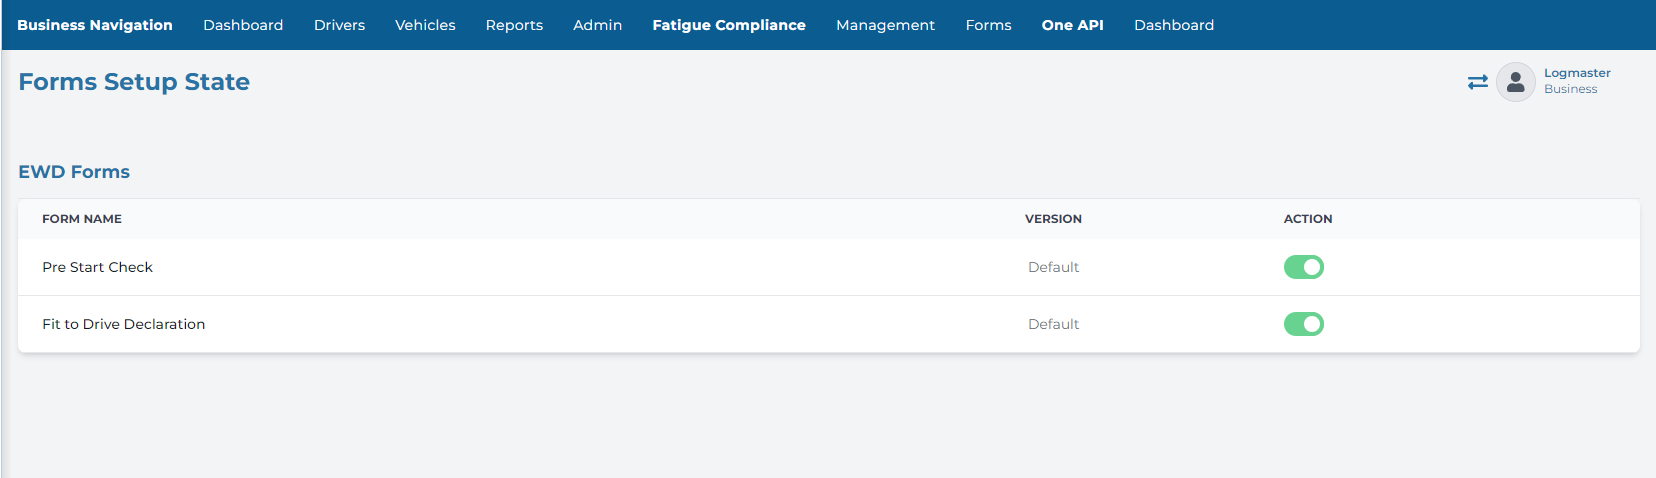
Form Setup:
Pre start check and fitness declaration forms can be customized and set up here, otherwise the default forms will be in use.


 Fitness Declarations:
 Role List:


